In today's article, I'm going to show you the process to reset MySQL/MariaDB root passwords…
This article will explain step by step on how to reset the password on your CentOS 7.1 server. This article assumes that you have direct access to your server, via KVM/IPMI, or standing in front of the console directly, plugged in with keyboard/mouse. You were brought here either because you lost or forgot your root password. It could also be that your admin is on vacation and forgot to give you access to your server just in case he was unreachable.
The image below probably looks familiar as you are unable to login to your server. You will have to reboot your server either by Ctrl alt del or issue a cold reboot.

Once the server has been rebooted I would suggest you spam the space key on your keyboard so that it boot stops a grub menu. You will be seeing something like this:
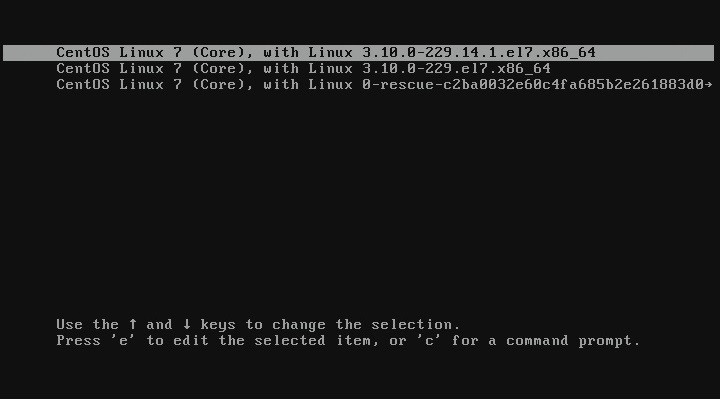
Once the prompt has stopped at the grub menu highlight the latest kernel version. In this case it will be “CentOS Linux 7 (core), with Linux 3.10.0-229.14.1.el7.x86_64”. Once you have highlighted or selected your latest kernel press ‘e’ from your keyboard. This will allow you to edit your Kernel and it will looks something like this:
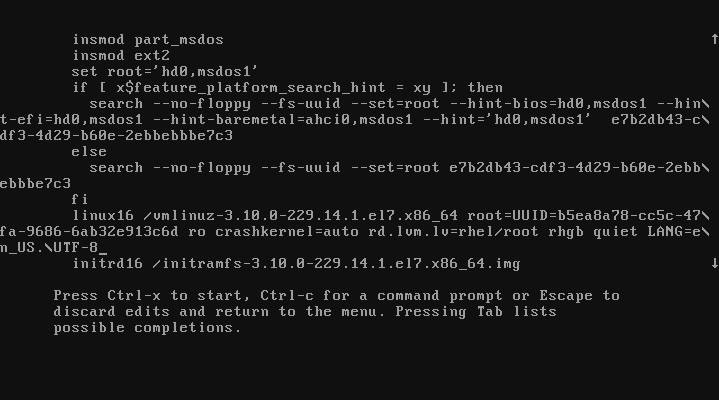
You will have to go down to the linux16 line and replace “rhgb quiet” with “init=/bin/bash” . When adding the line please keep in mind that the text is entered without quotes. If you do not see “rhgb quiet” you can just put init=/bin/bash at the end of the kernel line. Once you have replaced “rhgb quiet” it will look like this:
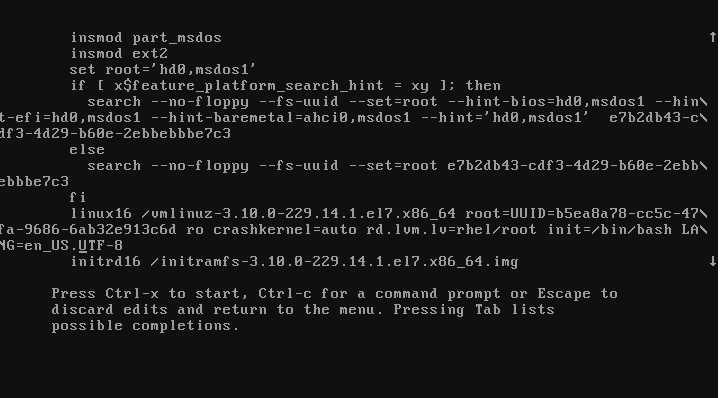
Once you are done editing you may go ahead and press ctrl+x on your keyboard. This will start the boot process with the parameters we have set above. Once boot up has been completed it will drop you into the bash prompt that will look like this:
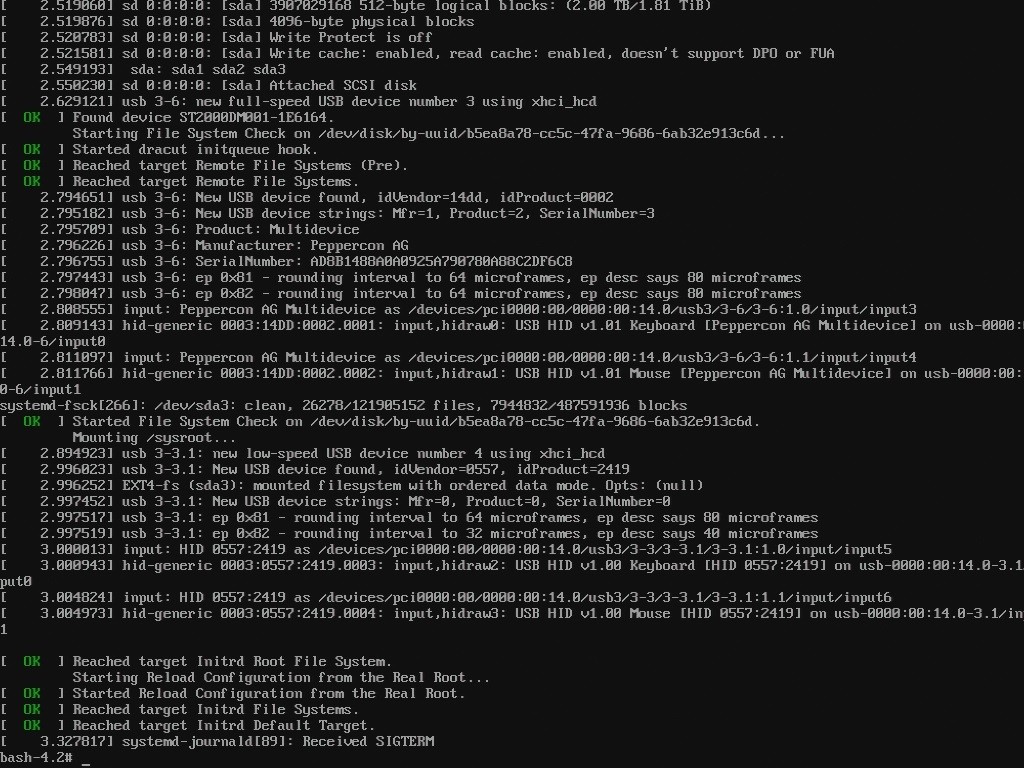
You will need to have read-write permissions in order to change the root password. This can be accomplished using the following command:
mount -o remount,rw /
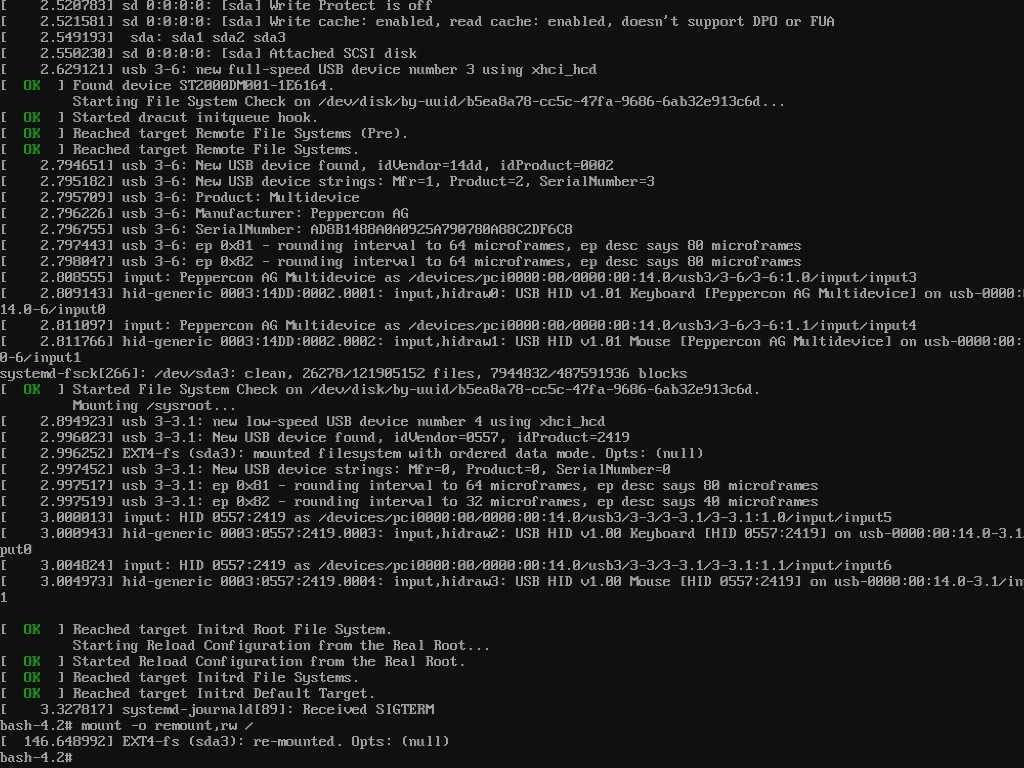
Now that you have mounted root filesystem into read-write mode you can reset the root password with the following command:
passwd root
Once you have successfully entered your new root password, Your prompt will look something like this:
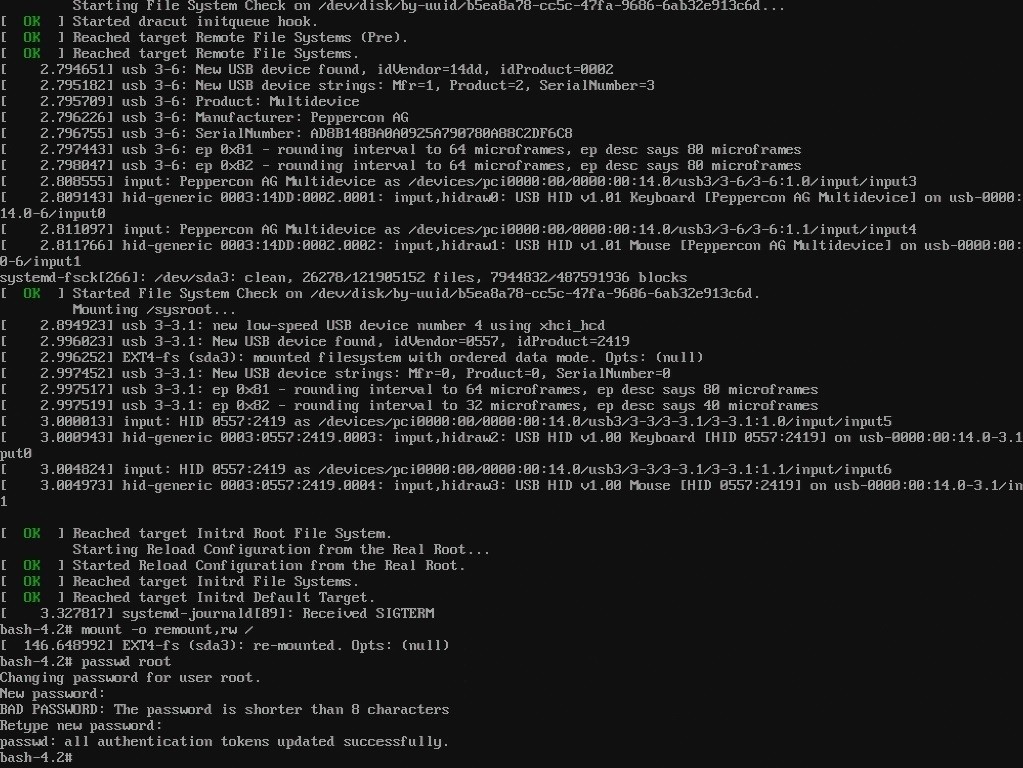
Now that you have successfully reset your root password. You will have to update your SELinux parameters. You can do this using the following command:
touch /.autorelabel
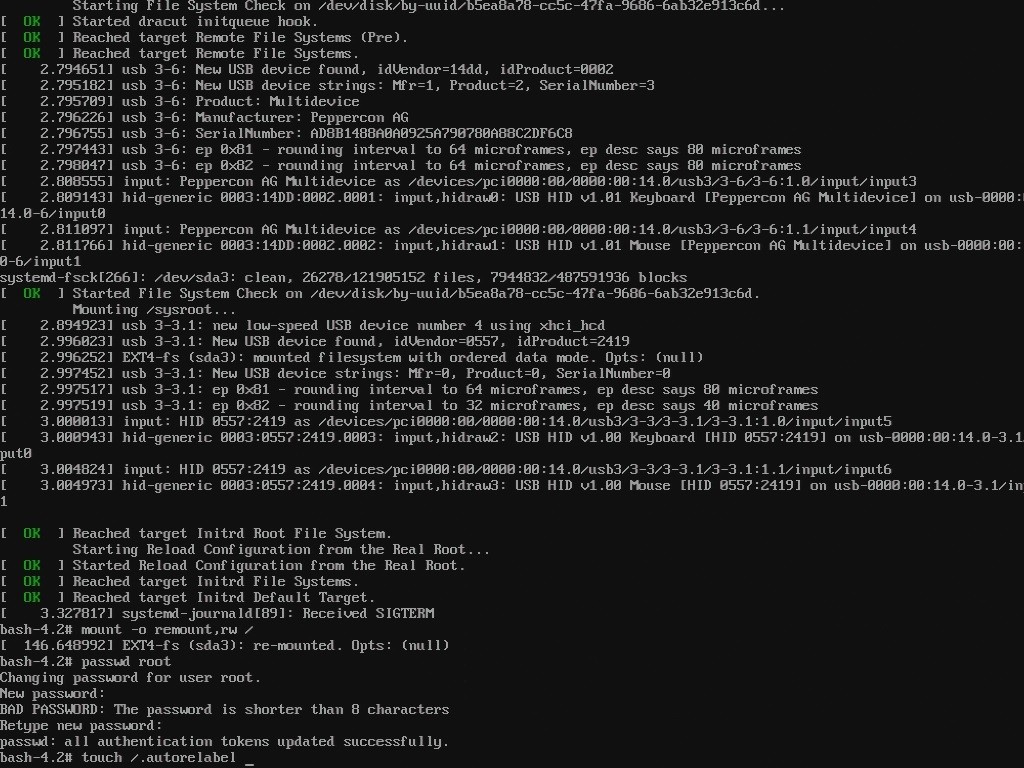
Once you have finished updating your SELinux paramaters. You will have to reboot your server. You can do this by running the following command:
#exec /sbin/init
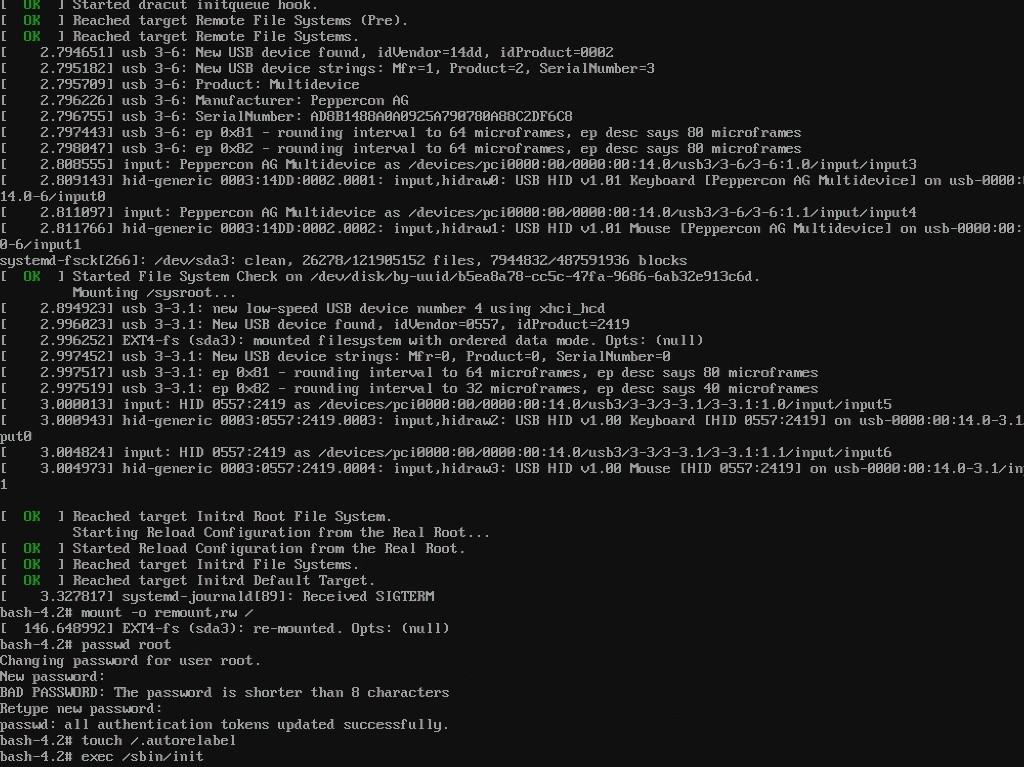
Once you are at login prompt you will be able to gain access to your server with the new login information.

Congratulations! You’ve successfully reset your root password on CentOS 7.1/RHEL!
Sponsored Links

Thank you! This is exactly what we were looking for. We downloaded the .ova version of CloudLinux (Viktor Gorbatko) and could not find the default password. This allowed us to reset the password and continue with our CloudLinux test environment.
Awesome, glad it helped!